When I first began sewing pillowcase dresses, I tried every way I saw to do armholes.
One of my daughter's doll's shirts was coming undone one day so I went to fix it
and saw how the arm holes were done on it. Lightbulb moment!
I copied that method and found the EASIEST way to do beautiful looking armholes.
To begin, cut a 1" strip of whatever fabric you plan to use. This is your bias tape.
It doesn't have to match because it won't show. Iron in about 1/3 of the fabric.
Then line up the fabric with the edge of your armhole.
You should be looking at the pretty side of your fabric.
I don't pin it in place, but I do leave a little bias tape above the dress.
I also leave a small bit of the dress fabric showing to make sure I catch the entire egde.
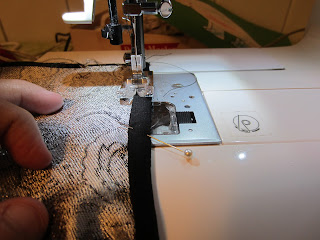
Sew along the entire armhole and then cut off the excess.
This part is hard to explain with words, but the pictures do a pretty good job.
You're going to flip the bias tape over your stitch and then
hide the raw edges inside of the fold.
Flip it over once more and pin in place.
Continue along the entire edge and stitch as close to the edge of the bias tape as possible.
Now your armhole should look like this:
All done!


No comments:
Post a Comment