Monday, November 20, 2017

Golden Book First birthday

I thought of doing a Golden Book birthday party and then had a really hard time coming up with how to pull it off!  I found a few examples on Pinterest and a few baby showers done in this theme, and they were all so darling!  Here is my version of a Golden Book party.


This is her invitation, and here is the back as a blank pdf file so you can make your own if you'd like.


For the fireplace, I made a banner out of the Poky Puppy book.  I printed the invitation 8.5 x 11 and put it in a golden frame.  I got a wooden letter and painted it gold and placed it on a stack of golden books.  The flowers are also on a stack of golden books.  The wreath was made from pages of poky puppy, shy kitten, and saggy baggy elephant.  I cut the cat out of the Shy Kitten cover and glued it to the center.


This is the banner of her monthly pictures.  Each picture was printed square (4x4) and glued to the golden book inside cover image.  I used this image and cropped it down to 4.75 square.  


As an activity for the kids, I thought they'd enjoy making their own little golden books.  Each child had a book with their name as the writer and illustrator.  I had a stack of stickers for them to use and had markers and crayons set out for them to use.  Here is a blank version of the book covers.  I printed them on cardstock and cut printer paper for the pages.  I used 4 sheets folded in half to make 8 pages for their books.  The finished books were about 3.5" by 5". 
The kids all enjoyed making them!


This was the table set up, prior to setting the food out.  I used vintage books in the background and printed off tiny book covers for the cupcake toppers (pdf link shared).  I made the pinwheels from copies of shy kitten, poky puppy, and the saggy baggy elephant (these were made first and the wreath was made from the leftovers).  


This cake was really fun!  I bought a Poky Puppy ornament and it was the perfect size to use on top of the cake.  I copied the last page of Poky Puppy and scaled it down to 67% and printed it on cardstock.  I cut out the sign and glued it to a popsicle stick, then used a fine point icing tip to make the grass.  


The high chair banner was created using an image of the back of a golden book and adjusting the color on photoshop.

I wanted our little girl to have a vintage outfit and found this sweet little pink corduroy dress.  I hand embroidered the shy kitten into the dress and added a little bow to it.  I LOVE how it turned out!

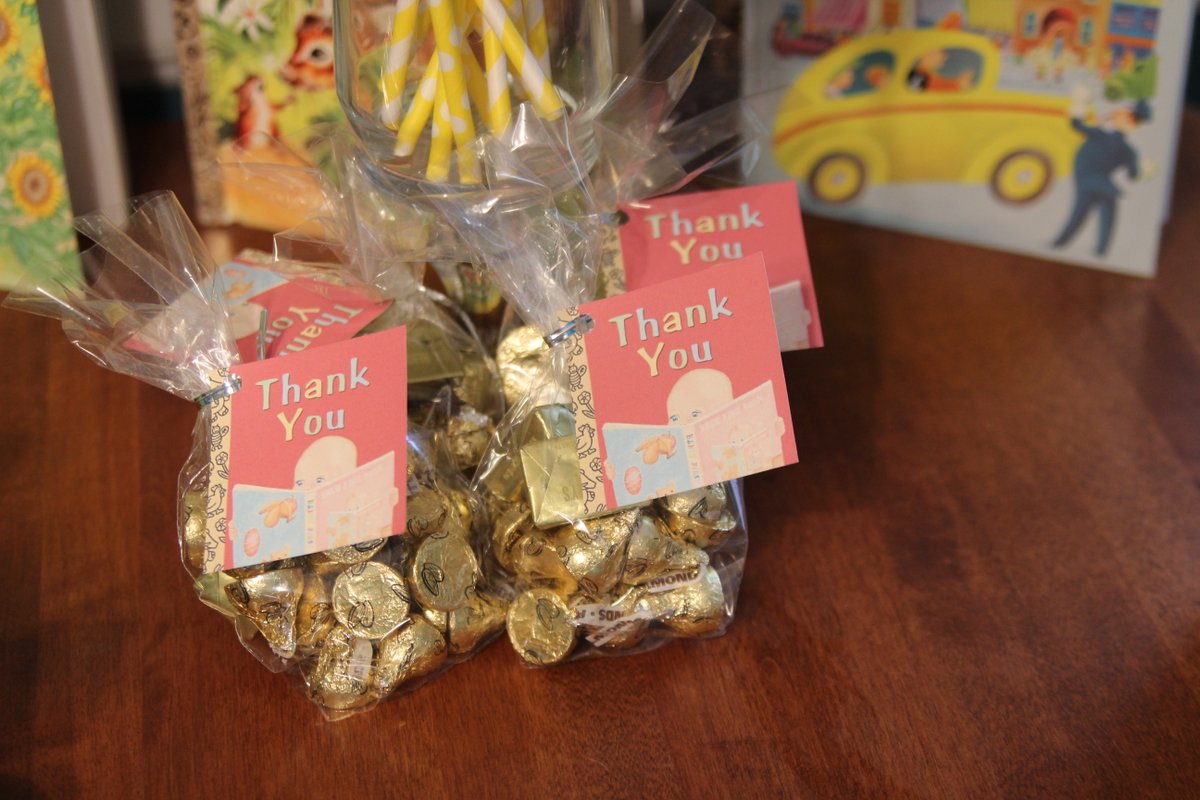
I gave the pinwheels to the guests as party favors.  The golden books they created also went home with them, and I added a little golden goody bag as well.  I chose to put hershey's with almonds in them because they have a very similar wrapper design to the binding of a golden book.  The Thank You tags are available on etsy (not my shop).  

  
The party was so sweet and exactly how I had hoped it would be.  The adults appreciated the nostalgia and the children had fun with the decor.  

If you decide to have a Golden Book party, I hope some of my ideas will help your party come to life!

Saturday, April 22, 2017

Bird mobile

Choosing a mobile for the nursery is the hardest decorating decision for me.  I knew that I wanted a fun fabric this time around, and I planned to base the room off of the colors in the fabric.  Walking through Walmart, I found this fun print made by Waverly.


The colors are lavender, teal, periwinkle, a darker purple color, and a little bit of lime green.  The pattern reminds me of flowers.  After MANY hours on pinterest, I decided to make a bird mobile because birds and flowers go together.


Many more hours were spent pouring through bird mobiles before I landed on this one which is supposedly from a Target ad.  

  
As much as I liked it, I felt like the birds looked like airplanes and I just couldn't get past that.  Then I began searching for other birds and found this beautiful one (tutorial here).


I tried to make it with felt and couldn't turn it the right way out so I went to regular fabric.  Mine aren't as pretty as hers, but that's okay.  I also didn't want all of my birds to look the same so I found two other patterns for the other two birds.  The purple one is made with her pattern, although I made the tail shorter.

For the glitter detail, I used tacky glue mixed with a little bit of water to thin it out and painted it on with a paintbrush.  Then I sprinkled the fine glitter onto the glued areas and hung the bird by the beak to dry.  I added glitter to the beaks the following day so the gold wouldn't get mixed into the other glitter.  The bird eyes are tiny seed beads I had in my stash, attached with a needle and thread.


I searched for sticks and everything looked really gnarly.  Then I noticed the branches on our Gardenia bush and saw how straight they were.  I knew they'd be perfect!  I used hot glue to put two sticks together.  I was going to use felt for the flowers but then I decided to use leftover fake flowers from Dollar Tree.  I mostly used white flowers but added some purple and some tiny blue ones along with some leaves.  I placed them randomly and used hot glue to attach them.  

All that was left was hanging it.  I used two hooks because I didn't want it to rotate.  Sticks aren't straight though so it was a bit of trial and error for how to center the mobile over the crib and how to make it hang so the stick wasn't closer to the wall on one end than the other.  I used fishing line and made a really big loop then hung that loop on both hooks.  

A tip for hanging the birds:  Start with a 12-18" piece of fishing line and thread that through the bird.  Let the bird hang.  If it is tilted too far forward or back, pull the line through and put it further forward or back and let it hang again.  Keep moving the fishing line until the bird hangs how you want it to.  After that, it's just a matter of tying the fishing line to the branch.

This is the completed mobile.  I love how dainty and pretty is it!  


I think it's important to also consider what the baby will be seeing, so I made sure some flowers were pointing down.  This is my little one's view of her mobile.  


If you're on a budget and want a pretty mobile, I highly suggest going this route!  Heck... Dollar Tree even sells litte birds so you wouldn't even have to make them!  All in all, this project cost me $4 for the fake flowers and glitter but technically I already had those on hand so this project was free for me.  It took me around 4 hours to complete the mobile, which was a lot less time than I spent deciding what to make!  

I hope this inspires you!