Monday, December 22, 2014

Baby Stella Elsa and Anna Frozen dress tutorial

My daughter asked for Elsa and Anna dresses for her dolls for Christmas.  Nice thought, except the only place I know of that sells the dresses is build-a-bear and those are too big for Stella.  I decided to work from scratch and see what I could come up with.  These are my daughter's Christmas gifts, so she hasn't seen them yet, but she's going to be delighted!

Modeling these are Baby Stella boy and the original Baby Stella.  


I later added a printed iron-on to the Anna dress for the design on the top.  I'll take more pictures after Christmas :)

In the meantime... tutorial!

First, I used a piece of paper to make a dress top for the dolls and fitted it to them.  I kept experimenting until I got what I felt was the right size.  Then I traced and cut that template out of card stock and made one a 1/2" wider for the two back pieces.  

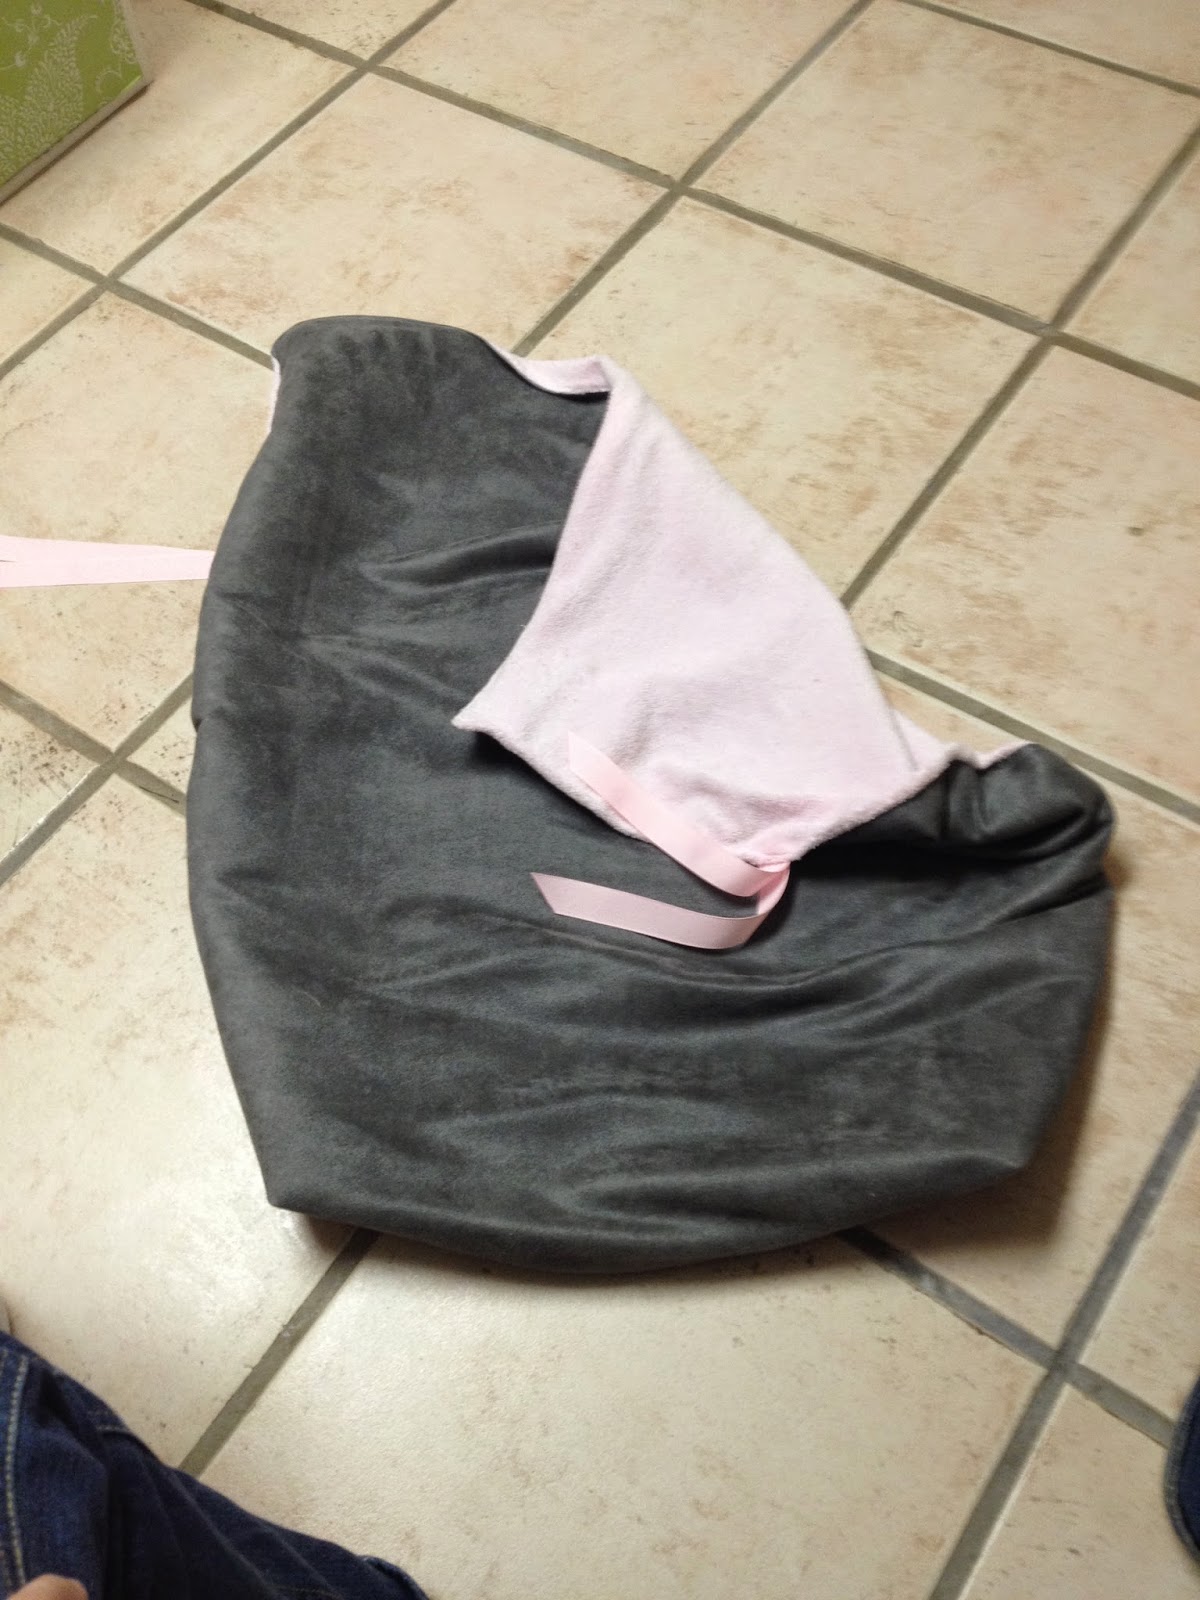
I used the templates to cut out one front piece and two back pieces.  Then I pinned those pieces down on a another piece of fabric and stitched them together, except for the bottom edges (to allow for flipping).  I find it easier to do that than to line up two pieces.  After sewing, cut off any excess and flip right side out.  


Lay the back pieces so the arm holes will be together.  Then pin and sew.


For the skirt, I estimated on width so I'm not sure how wide it really was.  I would estimate about 20" but a good rule of thumb is to make it 2.5x the length of the fabric you're attaching it to.  So if my bodice piece was 10", 25" would be a good width for the skirt.  I wanted the skirt to be 7" long, so I cut the fabric to 7.5" to allow for seams.  

I used my serger to seal all 4 edges (I forgot to do the side seams until later... whoops!) and to gather the top.  If you have a serger, I HIGHLY recommend figuring out your gathering stitch setting.  It saves so much time and gives a perfect gather.


Then I flipped the non-gathered edges in and sewed them up so they wouldn't be seen.


At this point, you should have a bodice and a skirt, ready to be sewn together.


Pin the middle of the bodice to the middle of the skirt and then pin to the edges.  I pin the bodice slightly below the serged edge to make sure it won't show after being sewn together.


Stitch together slightly below the serged stitch.  Sew with the gather side up to prevent any excess fabric being sewn incorrectly.


Now the dress is mostly done.  It should look like this.


Add velcro to the bodice on the back edges.  I typically use the harder side face down so it will not catch on things if the velcro isn't lined up perfectly.  I use the softer side facing out.  Sew the velcro in place and try the dress on the doll.


I made straps ahead of time, but they are basically just a tube of fabric about 1/2" wide.  With the dress on the doll, pin the straps in place.


Take the dress off the doll and sew the straps in place.  I cut off the excess and zig zag stitched the ends of the straps so they wouldn't fray.


Stitch up the back of the skirt to about 1.5" below the bodice.  This isn't an exact science, but the more space you leave, the easier it will be for your child to dress the doll. 

Here is the finished dress!


I totally winged the cape, and although it turned out okay, it's definitely not tutorial worthy.

As for the Elsa dress, I made it the same way.  I happened to have some teal shiny netting fabric so I used that layered over baby blue.  For the cape, I had another scrap and cut it in a cape shape.  Then I sewed it to the back of the dress and cut a slit about 5" long to allow for dressing and undressing.


I'm so pleased I was able to make these, and look forward to many more doll dresses in the coming years.

Carrier/car seat/stroller blanket tutorial 2

My last tutorial was using a changing pad cover and having more of a square/loose fit.  My friend needed a carrier blanket so I decided to try a different method.

I began with the same size soft piece, 30" x 36".  The exterior piece should also be that size.

I measured the distance between the straps on the carrier and the sides of the stroller.  The carrier straps were 12" apart and the stroller sides were 14" apart.  I added 2" for seam allowances and a little bit of room.  3" - 4" would have worked also, but I didn't want it to be too loose on her carrier.

With the 30" x  36" soft piece, fold it in half and mark your distance from side to side.  I made mine 16",  so I marked 8" (folded).  I cut a straight line 8" from the center to 10" down (marked on fabric) and then made a diagonal/curved line to the edge of the fabric.  The picture explains it better.


Unfold your fabric and lay it on your exterior fabric, then pin right sides together.  I left the exterior fabric larger an cut the excess after sewing.


Mark a 6.5" x 6.5" square in the bottom corners and cut out.


Separate the bottom edges of your pieces and pin them with "right sides" together, so the seams will be hidden after it is all together.


Sew the corners together where pinned and then tuck one corner into the other.  Pin the two fabrics back together.


Mark 10" down from the top and leave about 1/2" of space for the elastic to later be sewn in.  You could go ahead and sew in your ribbons at this point (see other tutorial for how to place them).  Leave a space at the bottom of the blanket for flipping the fabric, then sew around the two layers.  Be sure to leave a 4" space on the bottom edge for flipping and a 1/2" space 10" down on each side for the elastic.


After you sew the layers together, cut the excess and flip your blanket right side out.  Then sew your interior stitch about 1/2" in from the edge, all the way around the blanket.  Make sure you close the hole you used for flipping the blanket.

After the interior stitch is done, thread elastic through your channel (bottom edge of blanket) and pull until it is the tightness you're looking for.


This is what my blanket looked like after pulling the elastic tight.  Pin the elastic in place, and stick your ribbon ties in the gaps before sewing.  My ribbons were each 24" long.


Stitch over the elastic edges and the ribbon to make sure they're secure.   I used zig zag and straight stitches to make sure they were secure.  Your blanket is now complete!

Here it is on my carrier and the stroller.  The elastic edge will keep babies legs nice and toasty.


Monday, November 17, 2014

Stroller, carrier, and car seat Blanket

I saw a few stroller blankets and thought the one from Rain or Shine Kids was awesome.  They cost around $70 though and I thought it looked simple enough so I decided to make my own.  Here is their version.  They also have a flat version, but I like the gathered bottom edge for keeping the blanket on.

This is how mine turned out.  It is being modeled on a Bugaboo stroller.
I have another tutorial to make one slightly more fitted.
  

Here is it with a 3.5 year old Disney Princess in the seat.


And here is my sad attempt at modeling it with a baby in a carrier.  My daughter's bunny had to fill in until the next little baby is born.

Notice how the carrier is like a pouch at the bottom?  We always had issues with our first daughter's legs being exposed when we wore her, so I LOVE this idea.  I think it will work really well.

Now for the tutorial.

I began with a 36" by 30" piece of gray suede-like fabric for the outside and I decided to use an old changing table pad for the soft interior.  

I removed one end of the changing table cover and half of the elastic.  So half of the cover was still elastic/gathered and the other half was more rectangular.  If you're using fabric, you'll need to make the interior piece the same as the exterior and add the elastic. 


Make sure your exterior fabric is the same width as your changing pad cover end (the one without elastic).  Mine was 30".  I measured the length of the corner seam in my changing pad and it was 6.5" so I removed a 6.5" square from the two bottom corners and then stitched them together to make a corner seam. 


Now you'll need to lay out the exterior fabric with the soft fabric on top of it.  You want right sides together.


 Start by pinning your two corner seams together and then pin the rest of the way around.  I marked off a 4" space on the bottom edge (I chose the bottom edge because it will always be hidden) by placing pins in a cross so I would have a space to flip the fabric afterwards.


It didn't line up perfectly, but that doesn't matter.  Now you'll need to cut two 22" pieces of ribbon for ties.  I did a 16" piece and it's barely long enough to tie in a knot.  I folded the ribbon in half and pinned it 10" down from the top of the blanket.  You want the ribbon ends to be on the inside so they'll be outside when you flip it.


Now you're ready to sew!  I started at one of the crossed pins and ended at the other.  Avoid stitching on the elastic because it will stretch the elastic out a bit.  I sewed right on the elastic.  Don't do it!  Instead, stitch right inside the elastic but make sure to stitch over the ends you cut so it won't fray on the inside later.


After you stitch, cut off the excess exterior fabric and then flip the blanket right side out.


After you flip it, pin your opening down so it can be top stitched closed, then top stitch around the blanket.


All done!