
I saw a few stroller blankets and thought the one from Rain or Shine Kids was awesome. They cost around $70 though and I thought it looked simple enough so I decided to make my own. Here is their version. They also have a flat version, but I like the gathered bottom edge for keeping the blanket on.
This is how mine turned out. It is being modeled on a Bugaboo stroller.
I have another tutorial to make one slightly more fitted.

Here is it with a 3.5 year old Disney Princess in the seat.


And here is my sad attempt at modeling it with a baby in a carrier. My daughter's bunny had to fill in until the next little baby is born.

Notice how the carrier is like a pouch at the bottom? We always had issues with our first daughter's legs being exposed when we wore her, so I LOVE this idea. I think it will work really well.
Now for the tutorial.
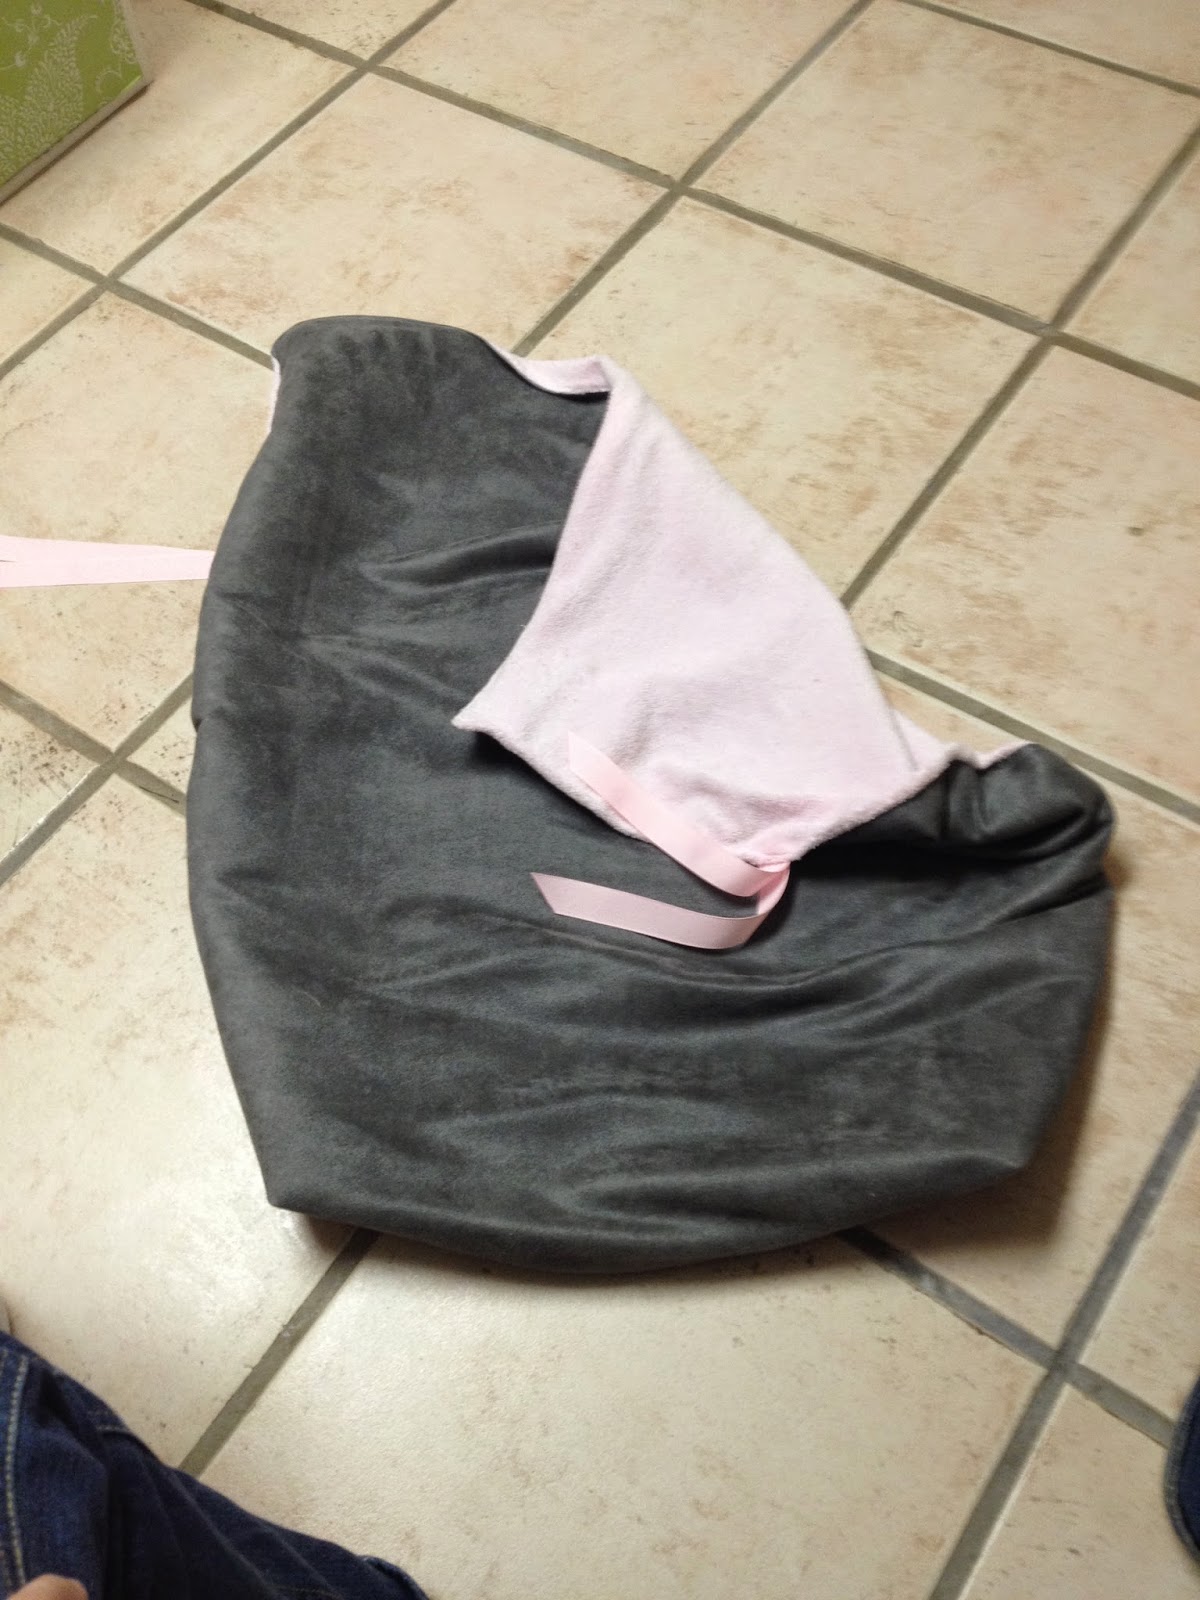
I began with a 36" by 30" piece of gray suede-like fabric for the outside and I decided to use an old changing table pad for the soft interior.
I removed one end of the changing table cover and half of the elastic. So half of the cover was still elastic/gathered and the other half was more rectangular. If you're using fabric, you'll need to make the interior piece the same as the exterior and add the elastic.

Make sure your exterior fabric is the same width as your changing pad cover end (the one without elastic). Mine was 30". I measured the length of the corner seam in my changing pad and it was 6.5" so I removed a 6.5" square from the two bottom corners and then stitched them together to make a corner seam.


Now you'll need to lay out the exterior fabric with the soft fabric on top of it. You want right sides together.

Start by pinning your two corner seams together and then pin the rest of the way around. I marked off a 4" space on the bottom edge (I chose the bottom edge because it will always be hidden) by placing pins in a cross so I would have a space to flip the fabric afterwards.


It didn't line up perfectly, but that doesn't matter. Now you'll need to cut two 22" pieces of ribbon for ties. I did a 16" piece and it's barely long enough to tie in a knot. I folded the ribbon in half and pinned it 10" down from the top of the blanket. You want the ribbon ends to be on the inside so they'll be outside when you flip it.

Now you're ready to sew! I started at one of the crossed pins and ended at the other. Avoid stitching on the elastic because it will stretch the elastic out a bit. I sewed right on the elastic. Don't do it! Instead, stitch right inside the elastic but make sure to stitch over the ends you cut so it won't fray on the inside later.

After you stitch, cut off the excess exterior fabric and then flip the blanket right side out.


After you flip it, pin your opening down so it can be top stitched closed, then top stitch around the blanket.


All done!

No comments:
Post a Comment