Sunday, August 24, 2014

Birthday shirts 2014

I was very busy with birthday shirts this year!  Some of them were very challenging and some were a lot of fun to piece together.  I truly enjoy making all of these designs (I draw them or copy them from pictures online) and figuring out how to layer them so they turn out correctly.  Without further ado, here are the shirts I made for my friends' children this year.

Curious George

Doc McStuffins - I LOVE this one!
The girl's name is Faylen so I edited the name.
 

Firetruck shirt with a "3" building on fire. 

 Firetruck shirt with an actual building and a 3 on the truck

Hello kitty shirt.  This little girl loves rainbows so we made this match the colors on her rainbow plates for the party. She wore a hot pink tutu with this.

 Iron man

 Minnie Mouse with matching skirt.  Turned out pretty cute!

Lambie from Doc McStuffins - I was very impressed with how good this one looked!

Mater applique up close - hauling a 3 (Mom's idea, and it turned out perfect!)

 Mater shirt

Paw Patrol shirt - the applique would have been too detailed for my machine so I did an iron on of the pup.

Peppa Pig was a hit this year.  I actually made 3 shirts like this!

Puppy shirt - I LOVE the bone and the bow and... well, this is the one I made for my daughter so I love it all ;)

Sully shirt - This is one of my favorites because it was unique and challenging.  Turned out so cute though!

Superman with 3.  This shirt was a NIGHTMARE.  I made two others and this was my third attempt.  Finally got it right.  I sent all 3 to the mom and her son rotates them because he loves it so much. 

Thomas shirt - worn with red tutu.

Tinkerbell shirt in shiny green fabric.  I'm not one for shiny things normally, but I was very tempted to make one of these for my daughter.  The shiny Tink was just perfect.

And finally, a John Deere tractor shirt.  
They are farmers and what boy doesn't love tractors, right? 

Thursday, July 31, 2014

Puppy Birthday Party

It's been so long since I've posted on the blog.  Life has been quite crazy!  Our little girl turned 3 in March and we decided to do a puppy themed party.  The girl LOVES dogs.

First, this was her outfit.  I saw a similar shirt on etsy with a different dog and thought it was adorable.  My daughter loves white terriers though so that is what we went with.


This was the food table.  I bought dog bowls at dollar tree for the food.  The bowls had cocoa puffs (looks just like dog food!), scooby snack graham crackers, scooby cereal, goldfish, veggie straws, and pretzels.  I made the fire hydrant using a tutorial on Pinterest.  My mother-in-law helped with the dog cookies.  They turned out so cute!  


I had a grand idea to make a dog bone cake.  It was impossible to ice after cutting to shape, so we decided to put cocoa puffs on the outside of the cake.  In hindsight, some sort of chocolate would have been better.  Or maybe I should just learn how to properly ice a cake!  The cake was Neapolitan: strawberry, chocolate, and vanilla!


My friend took a cupcake decorating class so I begged her to make the puppy cupcakes.  She did an amazing job!


I made a doghouse for a photoprop.  It was made with 4 pieces of foam board (dollar tree) and a cardboard box for the roof.  You can use foam board for the roof too but it doesn't hang over as much.  I used a marker to make the "boards" and cut posterboard for the "shingles".  


I also made a pinata.  I had NOOOO idea how to do this so I just winged it.  I used foam board for the bone shape and cut two identical pieces.  I essentially made a frame with them so it was hollow on the inside.  I cut squares out with the rest of board scraps and stacked those up to make the two sides of the pinata be about 6" apart.  Then I glued posterboard to the outside and used tissue paper to decorate it.  It was a lot of work but turned out really well!


When the kids arrived, I had felt dog ear headbands ready for them.  I cut spots out of felt and had craft glue for them to decorate their ears.  I also had a face paint crayon and made dog noses on the kids that wanted them.


As party favors, I made a dog adoption station.  I bought craft boxes and cut dog doors out of them.  When folded, they made little dog carriers/houses.  Then the kids got to choose their own dog (ty beanie babies) and filled out adoption forms.  They were so excited!


And finally, here's the birthday girl!


Thursday, December 12, 2013

Growth Chart - cheap and easy!

I always wanted a cute growth chart for my daughter's room.  When my mom asked what to get for little one's birthday, I suggested she make a growth chart.  After tossing around some ideas, she decided she would get a board and I could decorate it and paint it.  
The "board" turned out to be a stick that is about 2 inches wide and 4 feet long.  
I had no clue what to do with it until I saw some wood plaques in Michaels.  
I bought the butterfly and made this adorable chart.


After making that chart, I still had a stick left so 
I decided to make one for my cousin's son.  

This one was a little more work, but it's pretty cute!  

You'll need:
2" by 4' stick
paint
envelope
wood plaque 
ruler
wood glue
picture hanging piece

Decide on your colors and paint the stick and plaque.  


Using your ruler, make a small mark every inch for the length of the stick.

Get the envelope (or anything else somewhat rigid with a corner) and mark 1/2".  
This will be used to draw the lines on the stick.


Line the envelope up with the edge of the stick and the small mark you made and draw your lines.  Paint over your lines.  If you're going to do something fancier (like the train tracks), make your line going all the way across.  


Print numbers (2, 3, 4, and 5) out that are about 1.25" long.  
Cut them out as precisely as you can and trace them on to the stick.  
The 2 should be on the bottom line on the stick.


After that, you need to paint the numbers in.  
It took about five coats for each chart.


Using wood glue, attach the plaque to the top of the stick.  I placed my dictionary on top of it to keep it in place and let it dry overnight.  Attach the picture hanger to the back of the plaque so that the nail will hang exactly 4' 1" from the bottom.  This makes it very easy to hang it at the right height.  Place the nail 6 feet above the floor and hang your chart!

Wednesday, October 2, 2013

Bugaboo Frog raincover tutorial

I have a Bugaboo Frog (thank you, Craigslist!) and wanted to get a raincover for it.  I wasn't prepared to cough up $40 for one though.  Scouring ebay gave me hope but they were still $25-$30.  I came across this amazing tutorial and decided to give it a try with my Bugaboo.  I changed some things but got all the information and ideas from her. 

This is the Bugaboo Frog raincover. 
Here is mine. 


I started with a medium weight vinyl.  I happened to already have a ton lying around from a previous project so I didn't have to buy anything!  I draped it over the stroller canopy and the stroller and pinned it in place.  I marked half of the vinyl about an inch or two lower than the edges.  I used a sharpie because other markers wore off. 

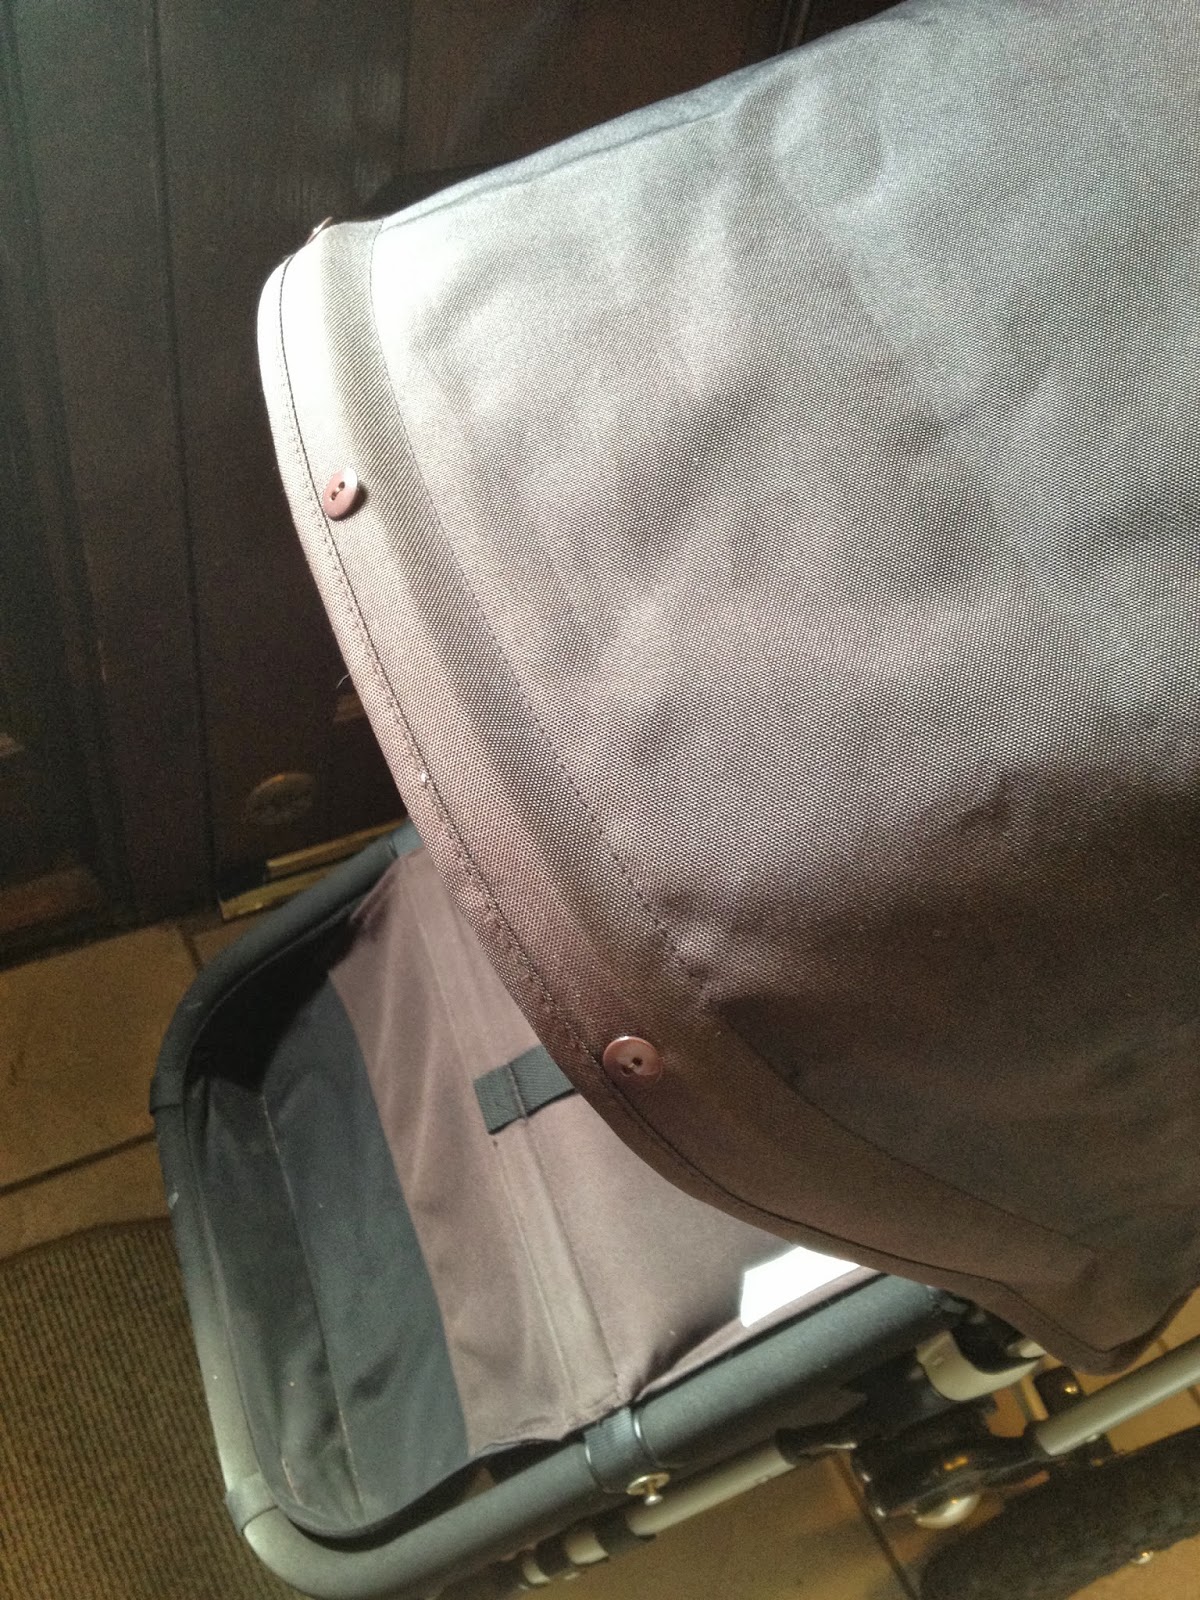
I chose not to add fabric to the bottom and just used elastic.  Here's what I changed from her tutorial.  Once you cut the fabric, place it on the stroller again and see how it's going to fit.  Trim off more where needed and then go ahead and sew all of your bias tape.  After the bias tape is on, sew some buttons on the canopy.  I chose brown so they would blend in.


Lay your cover over the stroller and mark where the button holes need to be.  I did that with chalk.  Sew the button holes and attach the canopy to your stroller.  Instead of ties, I decided to use hair rubber bands.  Mark where you want your ties or rubber bands to be placed and then sew them on.  I used lots of tight zig zag stitches to make sure they were secure.  Bugaboos have a built in loop holder thing (very technical) on the underside of the canopy supports.  The rubber band slips right over them.


Once all of that is in place, mark about 3 inches up from the bottom on the bias tape on each side.  When I sew over elastic, it always looses it's stretch so I find it best to thread it in later.  Take out a few stitches where your marks are and thread elastic through.  I just estimated the amount to use, but it goes from one side all the way to the other so the cover will stay tucked under the feet.  Stitch the elastic in place and sew up your two small gaps.  Your raincover is done!

The best part is how small it folds up. It's about the size of a sandwich!